Transparent MOV videos are an incredible way to elevate your content on platforms like YouTube, Twitch, or any streaming service. These templates, such as animated subscription alerts or stylish transitions, add a professional touch to your streams. In this guide, we will walk you through how to use transparent MOV files in OBS Studio effectively.
What Are Transparent MOV Videos?
Transparent MOV videos, typically encoded with an alpha channel, are files where certain parts of the video are transparent. This makes them perfect for overlays, transitions, or effects in streaming software like OBS Studio.
Why Use Transparent MOV Files in OBS Studio?
- Professional Aesthetic: Enhance the visual quality of your streams with sleek, custom animations.
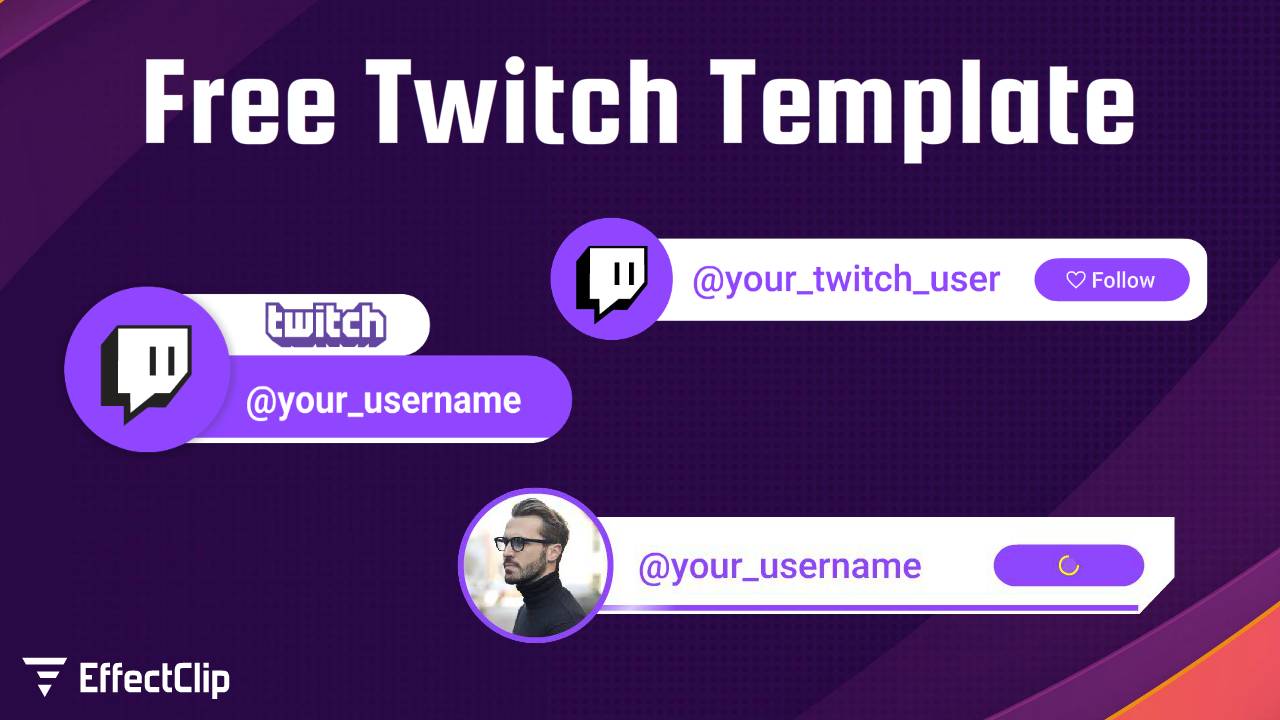
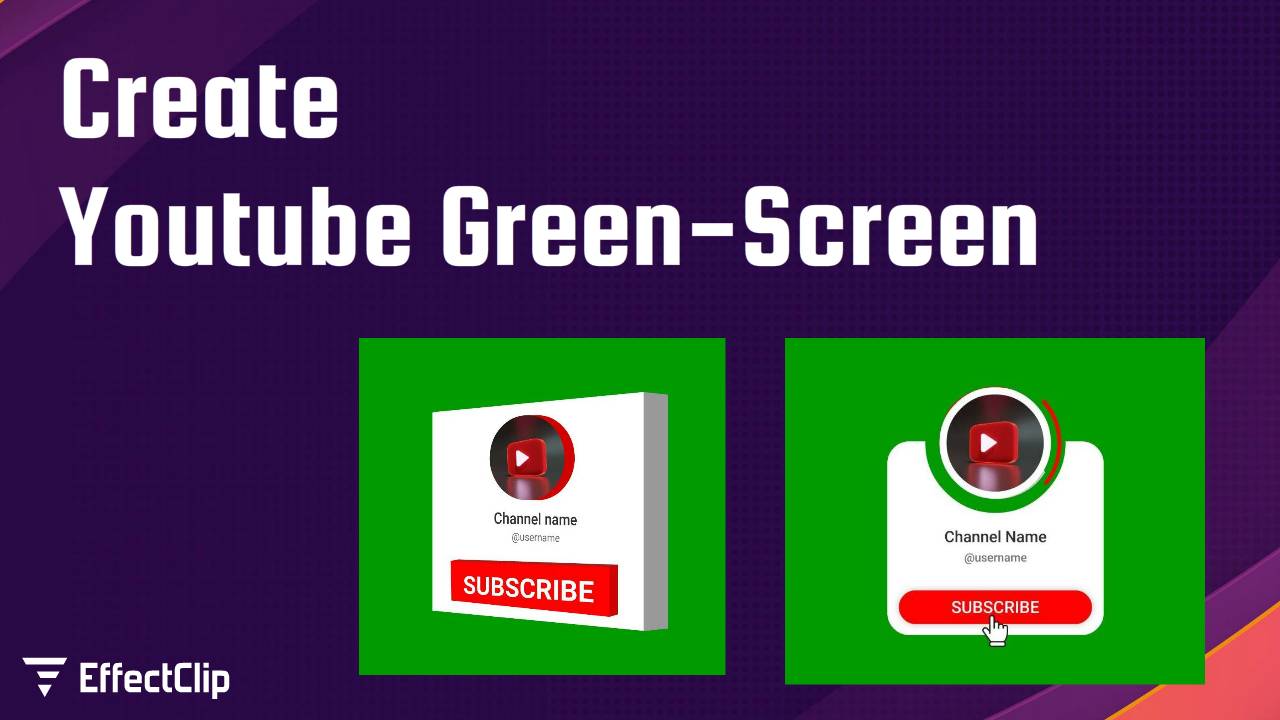
- Audience Engagement: Use animations for actions like “Subscribe” or “Follow” to encourage viewer interaction.
- Customization: Personalize your content with unique visuals.
Prerequisites
Before diving in, ensure you have the following:
- OBS Studio: Download and install the latest version from obsproject.com.
- Transparent MOV Video: A file encoded with the ProRes 4444 or PNG codec to retain transparency. Effectclip mov files are created using ProRes 4444
- System Requirements: Make sure your system can handle high-quality videos without performance issues.
How to Use Transparent MOV Files in OBS Studio
Step 1: Install OBS Studio
If you don’t already have OBS Studio installed, download it from obsproject.com. Follow the installation steps for your operating system.
Step 2: Import Your Transparent MOV Video
- Download .mov file from EffectClip.com orders.
- Open OBS Studio and navigate to the Scenes panel.
- Add a new scene or select an existing one.
- In the Sources panel, click the + button and choose Media Source.
- Name your media source and click OK.
- In the properties window, click Browse, locate your transparent MOV file, and select it.
- Enable the Loop option if you want the animation to repeat.
- Click OK to add the file to your scene.
Step 3: Verify Transparency
To ensure your transparent MOV file works as expected:
- Move the media source in the Sources panel to adjust its layering.
- Check the preview window to confirm the transparency.
- If the transparency isn’t working, verify the file format and codec. Re-export the file with an alpha channel if needed.
Step 4: Position and Resize the Template
- Drag and drop the video in the preview window to position it correctly.
- Use the handles to resize it as needed.
- Align it with your existing overlays or screen elements for a seamless look.
Step 5: Test Your Scene
- Click Start Virtual Camera or Start Streaming to test the effect.
- Ensure smooth playback and proper integration with your other elements.
FAQs
Q: Why isn’t my transparent MOV file working in OBS Studio?
A: Ensure the file is encoded with an alpha channel (e.g., ProRes 4444) and use the latest version of OBS Studio.
Q: Can I use other formats besides MOV?
A: Yes, but MOV is preferred for transparency. Formats like WebM with VP9 codec also support transparency.
Conclusion
Transparent MOV videos are a game-changer for streamers looking to create engaging and professional content. By following this guide, you can seamlessly integrate these files into OBS Studio, enhancing your audience’s experience. I hope you like this article.